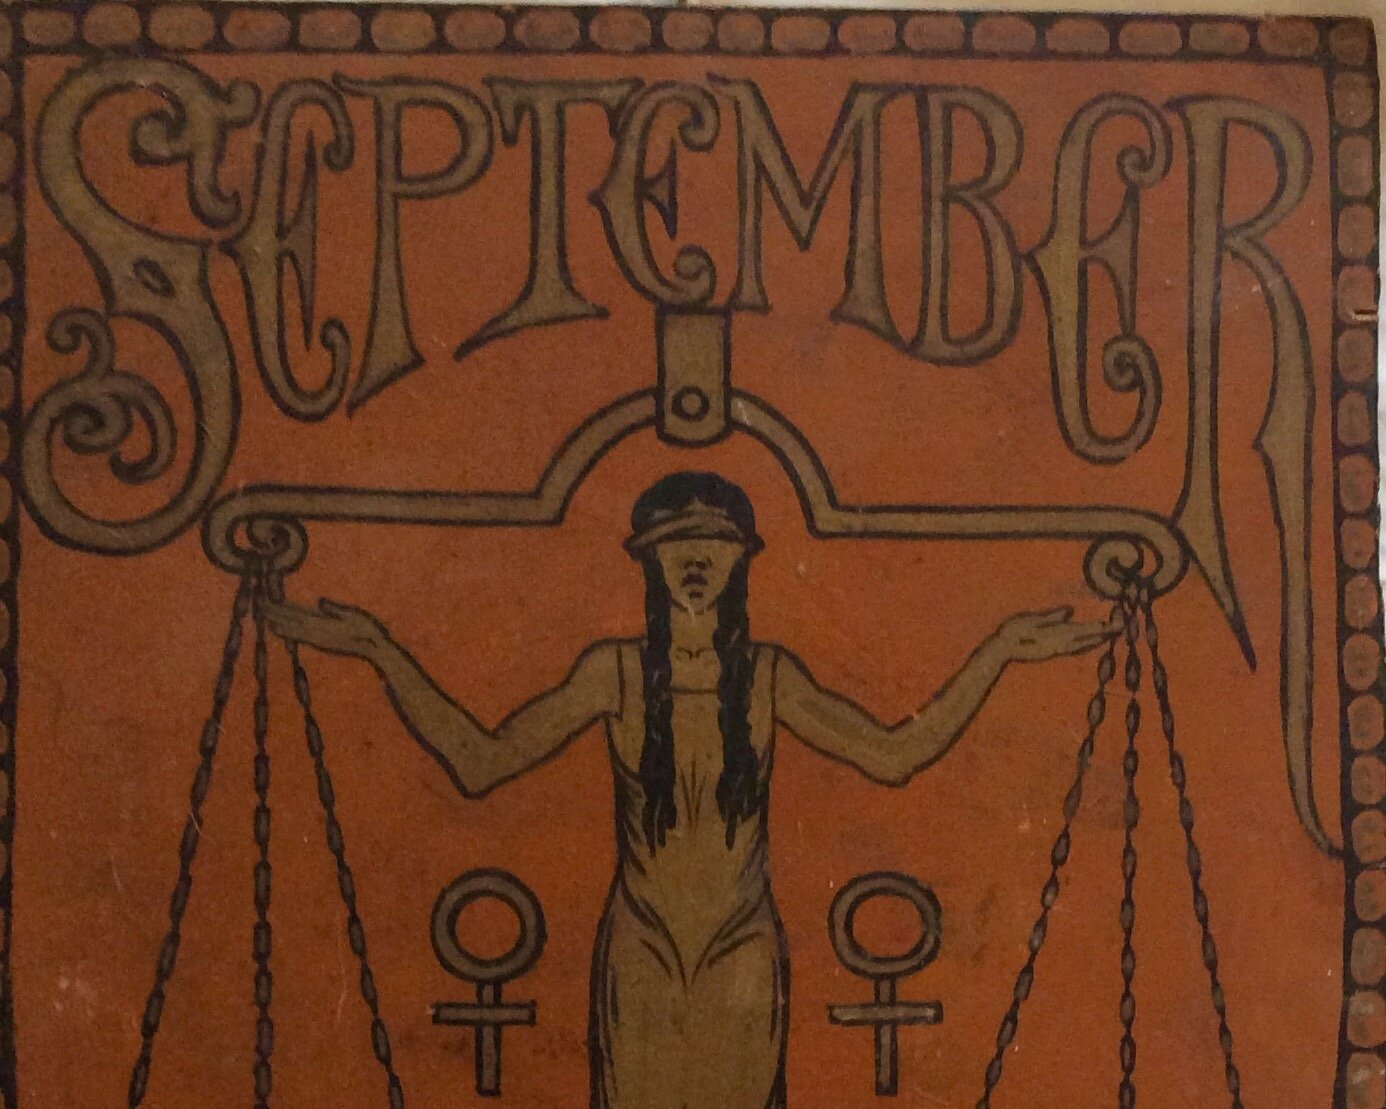
Astrological Designs
Edmund had a lifelong interest in mysticism, the esoteric and early Christian iconography which he re-interpreted in new and interesting artistic forms. Similarly, astrological and zodiac signs are found in different guises across the body of his work including a set of chargers glazed and fired at the Cantagalli factory in Italy. Capricorn and Aries are shown below.
View fullsize
HC13 Astrological design
View fullsize
HC133 Astrological design ( detail )
View fullsize
HC30 Astrological design ( art deco style )
View fullsize
HC30 Astrological design ( detail )
View fullsize
HC9 Zodiac Signs April 1934
View fullsize
Zodiac design 1910-12
View fullsize
HC-AD005 Gemini Shield c1920
View fullsize
HC-AD009 Libra Shield C1920
View fullsize
Ralph's Chart early c1900's (1)
View fullsize
Aries Charger 1920's
View fullsize
Capricorn Charger 1920's
View fullsize
Ralph's Chart early 1900's (2)
View fullsize
HCMD The Path: March 1912
View fullsize
HCMD The Path: Theosophical Calendar 1912